

How Bright Should An LED Inspection Light Be For Detailed Tasks?
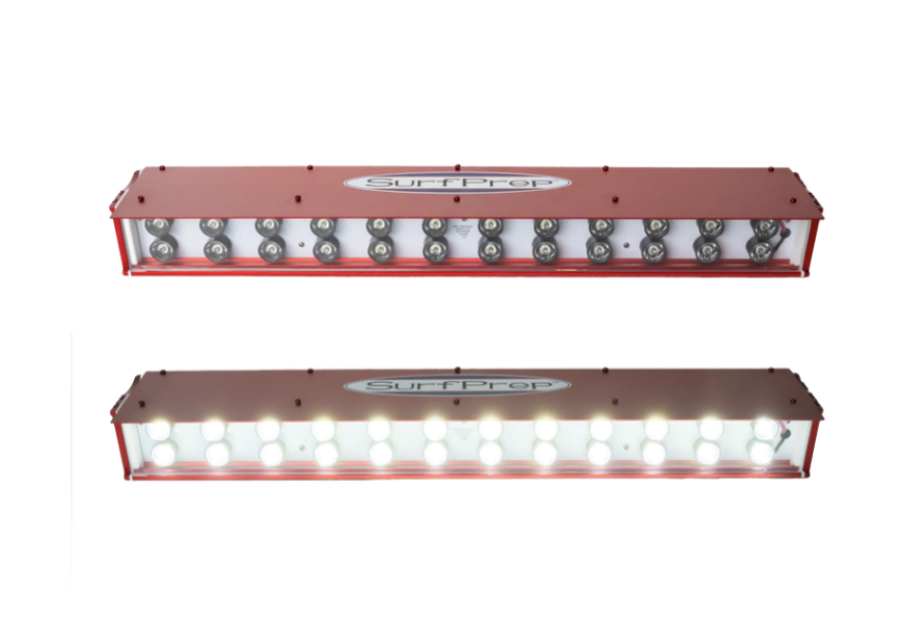
You switch on a bright light to check your sanding work, but faint scratches still hide until the finish goes on. Some lights feel too harsh on your eyes, while others leave dark spots that miss small flaws completely. Picking the wrong brightness can cost you hours of rework after a project already looks finished, and no one wants to redo work they thought was done.
Here’s the good news: the right amount of light makes every flaw show up clearly, long before you ever reach for a coat or stain. Brightness isn’t just about high or low settings, either. It depends on how close you work, how big your surface is, and how the light itself is built.
This article breaks down how much light detailed sanding tasks actually need, and why color plays just as big a role as brightness does.
Lumens Aren’t the Whole Story

Many people think more lumens automatically means better light for spotting flaws. That isn’t quite true, because a strong LED inspection light works best when it reveals defects, not just when it brightens a room. What matters most is how the light hits your surface, not simply how much light it puts out in total.
A high lumen count can still wash out the shadows, which makes scratches or dents easily noticeable. Shadows are the first key that your eyes need to notice small surface issues. Even the best light can conceal the very flaws you’re looking for if it doesn’t have the right angle.
Consider the following scenario: a flashlight beam shines straight into a wall, and it barely shows texture, but the same light beam is shined at an angle, and it shows every bump and ridge. That is exactly the way the inspection lighting is on a sanded surface. Therefore, lumens alone are no solution to your inspection problems.
It is also necessary to consider the angle & distance, and the combined strength of the two in relation to brightness to determine what is actually present. With this understanding, picking the right type of inspection light is much simpler, and you won’t be chasing a bigger number on a spec sheet for no reason.
The Right Lumen Range for Detail Work
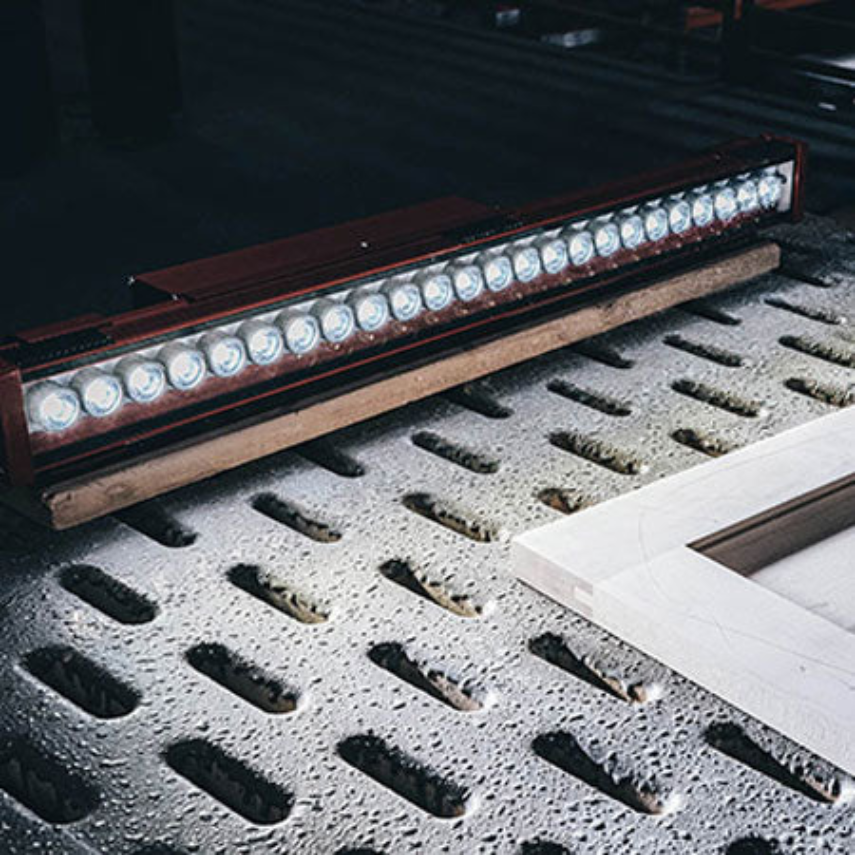
So how bright should your LED inspection light actually be?
For most detail tasks, the answer comes down to a fairly narrow window that balances power with comfort.
- The Sweet Spot: 3,000 To 5,000 Lumens
For close detail work, you don’t need the brightest light on the shelf. A range of around three thousand to five thousand lumens usually gives you enough power to catch fine scratches without straining your eyes. This range sits right between too dim and too harsh, which is exactly where you want to be for hours of steady work.
- What Happens When Brightness Is Off
If the lumens are too low, then the surface is too dark and small defects will be lost into the background before they can be noticed. Too much lighting, on the other hand, will produce a strong glare that will reflect off the surface and obscure detail rather than reveal it.
Both errors take up time, as errors would not be noticed until the end product is finished, and you would need to start again to correct the flaws.
- A Quick Way to Test Your Light
Before you commit to any light, test it on a real piece first. Move it slowly across the surface and watch how flaws rise up under the beam. If scratches and dents show up clearly without straining your eyes, you’ve found the right brightness for your work.
Brightness Needs by Surface Size

Not every job calls for the same setup, and surface size plays a bigger role in this decision than most people expect. Small parts need less light spread out over a wider area, so lower brightness often works just fine for detail benches. A tighter beam lets you focus closely on one small section at a time without wasting light on empty space around it.
This setup suits jewelry work, small furniture pieces, or tight repair spots where precision matters more than coverage, and where a wide beam would honestly just get in your way.
Large panels and wide surfaces need much more coverage to inspect evenly from edge to edge. A wide, bright beam helps you scan long cabinet doors or full panels without missing a corner or a seam. Weak lighting on a big surface leaves parts of it sitting in shadow, and flaws stay hidden right up until the finish reveals them for everyone to see, including your customer.
Matching inspection light size to your surface saves you time and effort down the line. A light built for large panels wastes power on small parts, while a small light struggles to cover wide ones evenly and leaves you moving it around more than you should have to. Choosing the right size for the job keeps your inspection fast, consistent, and genuinely accurate.
Color Temperature: The Other Half of Brightness

Brightness alone cannot show you true colors or textures on a surface, no matter how many lumens you throw at it. Color temperature, measured in Kelvin, controls how natural or warm the light looks to your eye. An inspection light between five thousand and six thousand Kelvin closely matches daylight, which helps you judge true surface tone rather than a tinted version of it.
Warm yellow light can hide small color differences and make every surface look roughly the same shade. Cool white light closer to daylight lets you catch uneven staining, blotches, or grain changes that warmer light tends to smooth over. This makes color temperature just as important as raw brightness for anyone doing detail work.
When lumens and color temperature work together, your inspection becomes far more reliable overall. Bright light with poor color still misses subtle flaws, no matter how much power sits behind it. Balanced light with the right color temperature, on the other hand, reveals everything you actually need to see before you commit to a finish you can’t easily undo.
Final Thoughts
Getting the right brightness for detailed work is never about picking the strongest LED inspection light you can find on the shelf. It comes down to matching lumens, angle, surface size, and color temperature to your exact task at hand, every single time you sit down to inspect a surface before it goes any further.
Once you understand how these pieces work together, your inspections become faster and far more accurate. You’ll catch flaws early, avoid costly rework, and finish every project knowing the surface is truly ready for its final coat, with no surprises waiting underneath.