
6 Ways A SurfPrep LED Inspection Light Can Help Spot Surface Imperfections
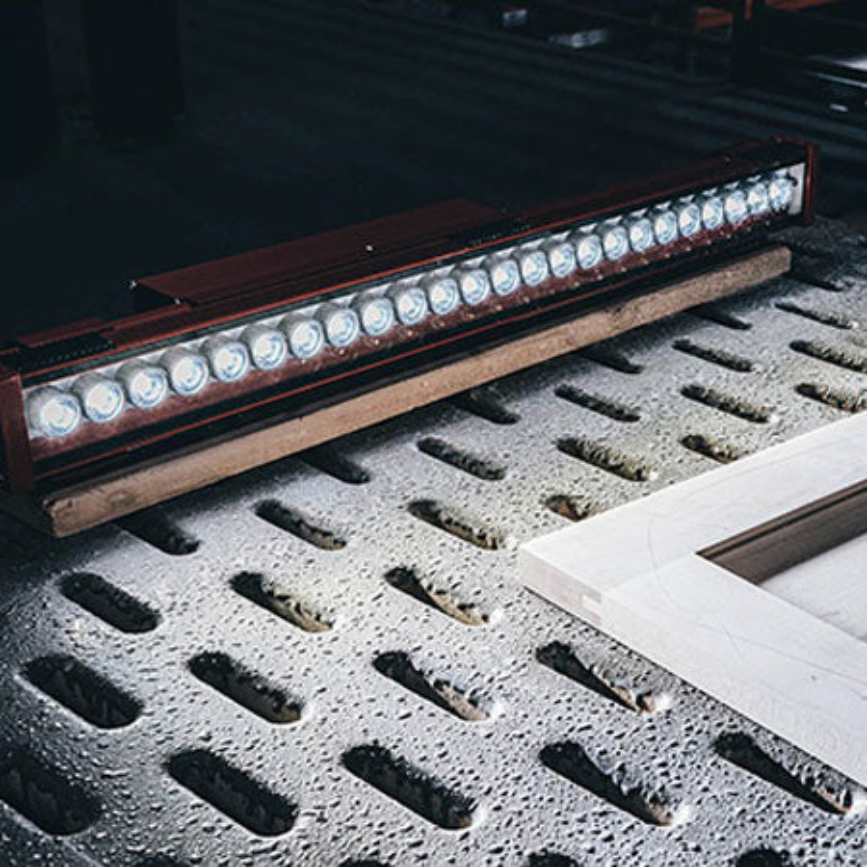
An LED inspection light can give you a closer look at a surface when you need to check the quality of your work. During sanding and surface preparation, clear visibility plays an important role in helping you see how a surface is progressing.
Regular shop lighting provides general visibility, while focused light gives you a closer view of specific areas. Looking at a surface from different angles gives you more detail before you move from preparation to finishing.
SurfPrep LED inspection lights are designed for surface inspection in settings such as cabinet shops, woodworking areas, furniture refinishing, and production work. A dedicated inspection light gives you focused light for examining specific areas during your surface-check process.
So how can a SurfPrep LED inspection light help you spot surface imperfections during your work? Here are six practical ways it can support a closer surface check.
1. Reveal Fine Scratches and Sanding Marks
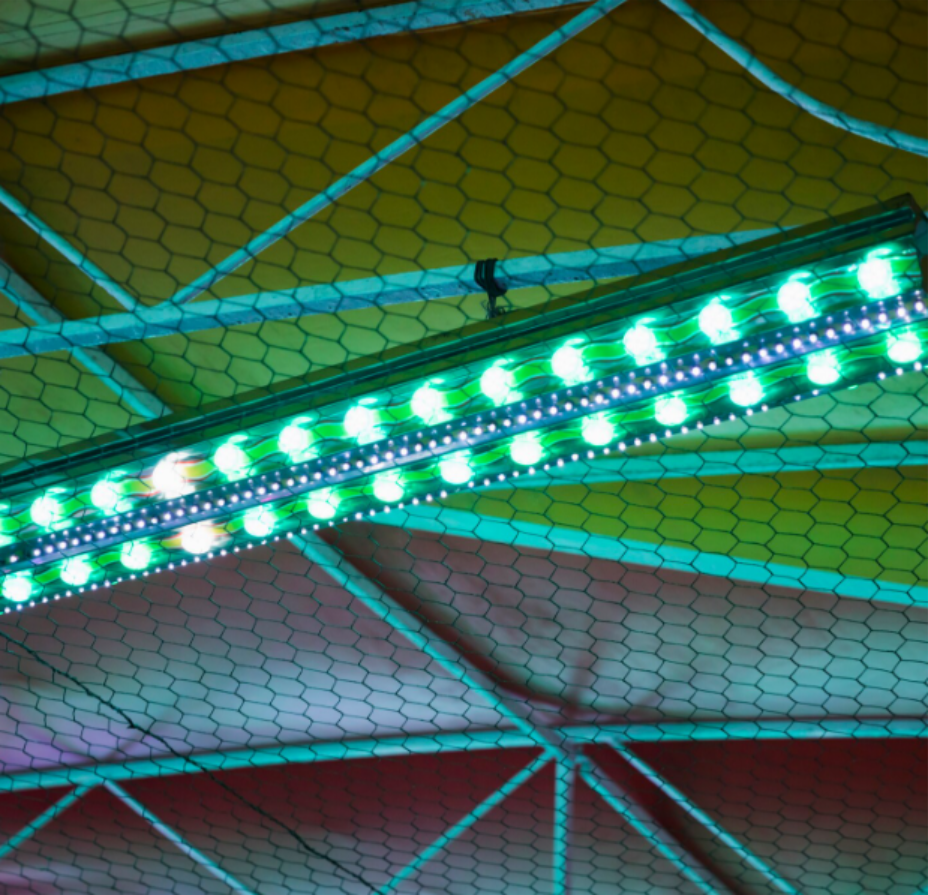
Fine scratches become easier to see when you inspect a surface with focused light. An LED inspection light directs light across the workpiece at a low angle, helping small marks stand out from the surrounding area.
A smooth beam and angled lens direct light toward the sanding surface. With SurfPrep’s inspection light, the smooth beam and angled lens create a focused view of sanding marks and surface details, while shadows can make scratches and cross-grain marks more visible.
Between grit changes, use the light to check your sanding work. A quick inspection at each stage helps you see whether marks from an earlier sanding step have been removed.
Broad panels benefit from a careful visual check because light can reveal sanding marks differently across a large area. Move the light across the workpiece and view the surface from several positions for a fuller picture.
Pay attention to areas where sanding directions meet or change. Moving the light across those sections can help you compare the marks more closely and spot areas that need another pass with your sanding tool.
2. Spot Dents and Surface Height Changes
Small dents and changes in surface height stand out more clearly when light travels across the workpiece. A low-angle beam creates shadows around raised and recessed areas, helping you see changes in the shape of the material.
Dents, dings, raised grain, and uneven surfaces are among the details you can check with SurfPrep inspection lights. Move the light slowly across a panel and watch for changes in height, shape, and light reflection.
Larger panels benefit from a steady inspection routine. Watch the areas around small depressions, raised sections, and uneven transitions as the light passes over them.
A close check before staining, painting, or another finish gives you time to refine the surface. Correcting uneven areas during preparation helps create a more consistent foundation for the next stage.
3. Inspect Edges, Curves, and Tight Areas
Edges, curved sections, and smaller workpieces need a close visual check. Changes in shape affect how light reaches the material, giving you different views of scratches, dents, and uneven areas.
Two light-bar sizes give you options for different work areas. SurfPrep’s 24-inch model suits smaller workpieces and finishing benches, while its 40-inch model suits wide panels and larger work areas.
Position the light so its beam reaches the area you want to examine. Focused illumination can bring surface details around edges, corners, curves, and other areas into clearer view.
Curved surfaces also produce different reflections as the light position changes. Move the light along the curve and check the area from several points to get a broader picture of its condition.
4. See Texture and Color Differences
Surface texture and color can vary across a panel even when the workpiece looks smooth overall. Light that skims across the material helps you compare nearby areas and notice differences in texture, finish, or appearance.
A 45-degree lens beam angle directs light toward the work surface. SurfPrep pairs that beam angle with a 5,500–6,000K color temperature, which is close to daylight and supports clear surface and color checks.
A consistent inspection routine lets you compare similar areas under the same light. From there, you can decide whether a section needs more sanding or additional surface preparation.
Compare nearby areas under the same light to make texture differences easier to recognize. Side-by-side viewing gives you a clearer sense of whether the surface has a consistent texture and appearance.
5. Check Surfaces Before Primer or Paint
A surface check before primer or paint gives you a useful opportunity to review your preparation. Scratches, dents, sanding marks, and uneven areas are easier to address while the surface remains in preparation.
Before painting or staining, SurfPrep inspection lights provide focused lighting for reviewing sanding quality and surface flaws between grit changes. Use the light to examine areas where further surface preparation may improve the final result.
Inspect the entire workpiece, including areas that already appear smooth. Move your view across the surface and pay attention to shadows, texture changes, and marks that appear as the light reaches different sections.
Check broad sections first, then work toward edges, corners, and detailed areas. Following a steady inspection pattern gives you a more consistent view before you move to primer or paint.
A pre-finish inspection also helps you decide where to spend more preparation time. Return to areas that need attention, refine the surface, and inspect the work again before applying the next material.
6. Find Visible Defects on Finished Surfaces
Final inspection can continue after the paint or coating has been applied. A dedicated inspection light provides focused illumination for reviewing painted, coated, or otherwise finished surfaces.
For production lines and cabinets, SurfPrep inspection light bars support paint corrective work and final quality checks. A similar visual check gives you a practical way to review a finished workpiece before you consider the project complete.
During final inspection, view the surface from more than one position. Examine broad areas first, then move closer to sections where marks, uneven areas, or changes in appearance draw your attention across the workpiece.
Pay particular attention to areas where light reflects differently across the finished surface. A change in reflection can highlight a scratch, uneven section, or another visible surface issue that deserves a closer look.
Bottom Line
A good surface inspection starts with clear visibility across the workpiece. A SurfPrep LED inspection light gives you focused light for checking sanding marks, dents, raised grain, uneven areas, and finished surfaces at different stages of a project.
Low-angle light helps bring surface changes into view, while 24-inch and 40-inch options suit different work areas. Adding a dedicated inspection step before and after finishing gives you a simple way to review your work closely.
You can then make surface corrections while they are still part of the preparation process.